Curing Silicone in SLA UV Molds – Part 3
I receive frequent emails about my platinum cure silicone posts (part 1, part 2). People all around the world want clarification of my process, so I’m happy to provide it.
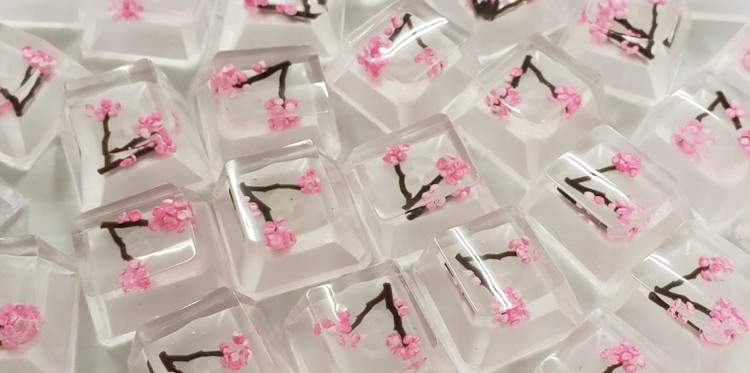
I’ve been casting platinum cure silicone in SLA printed masters for over a year now for my keycap business, Cherry Festival, and have successfully done it hundreds of times with perfect accuracy in the finished mold. I’ve settled on a very strict but easy process to ensure it works every time.
Here’s what you do:
- Wash all excess resin from your part
It’s important to have a completely dry, clean part for this process. I wash my parts under a heavy stream of water, then place them into an ultrasonic bath of isopropyl alcohol, but you can use any method. Just make sure all uncured resin is cleaned off.
- Heat your part at 300F/150C for 2-3 minutes
This is half the secret. You’re looking for wisps of smoke. I use a toaster oven for this, but any heated chamber where smoke can escape will work. The moment I see wisps of smoke coming out of the door, I open it. As cold air rushes in, the part will smoke heavily. This is good! If you let it heat for too long, the part will develop cosmetic fractures. The perfect heating is right before these fractures would appear. Also, don’t breathe the smoke.
- UV cure your part normally
Don’t go overboard, just do it how you would normally do it. Extended UV curing does not make this process work any better.
- Tumble your part in Inhibit X for 5 minutes
I like to place the parts in a jar of Inhibit X inside a rock tumbler, but this probably works fine just swishing them around every few minutes by hand. You just want the Inhibit X to touch every surface and have enough time to get those surfaces fully reacted.
- Let your part dry
This happens pretty fast. Once the parts are dry, they’re ready for platinum cure silicone.
So long as your silicone is mixed well, the quality of the mold will be the same as any other non-SLA part. No gumminess, no lost detail.
I’d love to see what you make with this process! And please feel free to keep emailing–I’m always happy to answer any questions about this.